You may have heard about collections, smart collections, and collection sets, but have you ever used a target collection? If you haven’t then I’ve got something pretty cool to share with you. The original target collection is the Quick Collection, which is found in the Catalog panel of the Library module.

The Quick Collection
The purpose of the Quick Collection is to provide a simple way to quickly gather together a group of photos for whatever reason that makes sense to you. Perhaps you need to temporarily round up several photos that are stored across a range of folders for a quick export, or maybe you need to print them to give to a family member, or some other short-term reason that doesn’t quite justify creating a long-term collection for that group of photos.
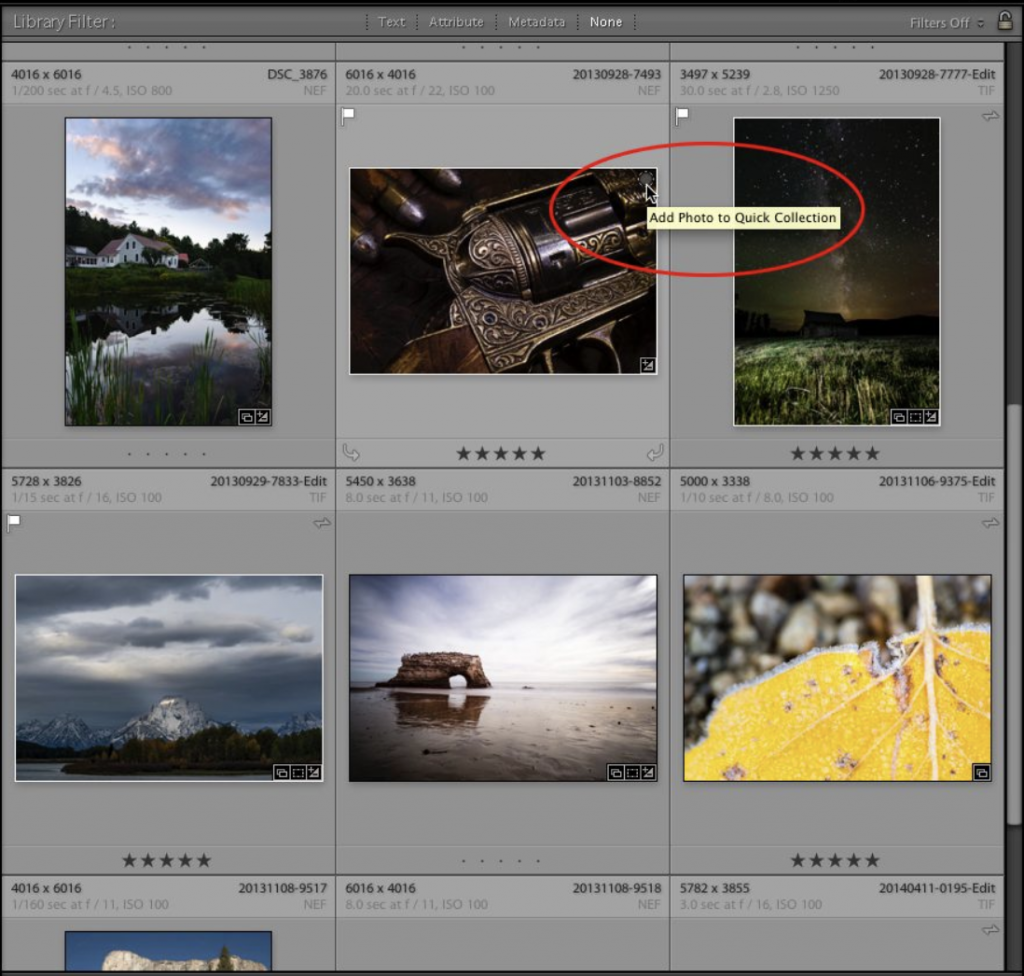
You can drag and drop photos to the Quick Collection just like a regular collection, but the real benefit of the Quick Collection is the built-in keyboard shortcut of the letter B, which allows you to send selected photos to the Quick Collection with a single keystroke. There is also a small round button that appears in the upper-right corner of thumbnails when you move the cursor over the photo.
One click of that button will also send that photo to the Quick Collection. The button stays visible on photos in the Quick Collection to provide a visual clue to their status. You can remove photos from the Quick Collection by selecting them and pressing the Delete key (PC: Backspace), the B shortcut key, or by clicking that round button.
Assign the Target Collection
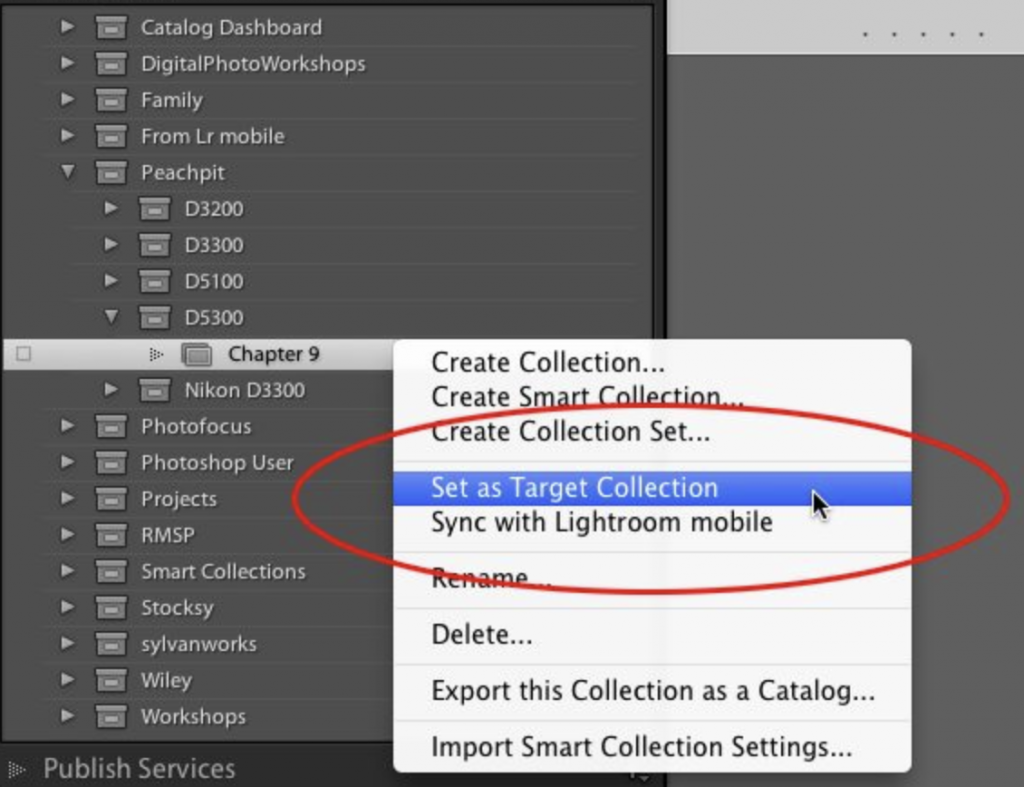
The Quick Collection functionality is very handy, but where Lightroom takes it to the next level is in giving us the ability to assign any regular collection as the Target Collection. When you assign a regular collection as the Target Collection (there can be only one collection assigned at a time) you give that collection all the powers of the Quick Collection. That means that now the B key and the round button will send selected photos to the assigned Target Collection instead of the Quick Collection. You assign a collection as the Target Collection by control-clicking (PC: Right-clicking) the collection and choosing Set as Target Collection from the contextual menu that appears.

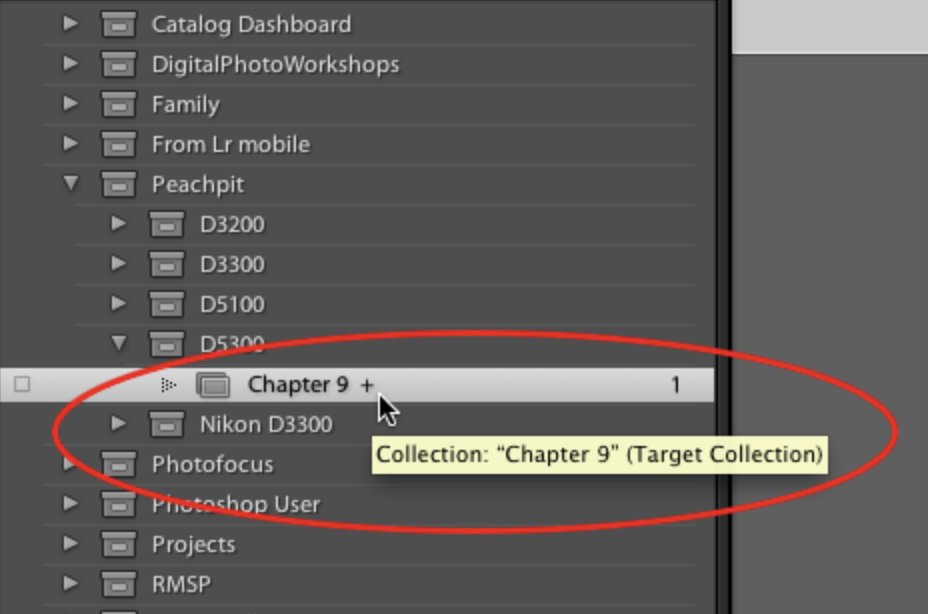
The chosen collection will be marked with the same small + icon that was previously showing on the Quick Collection as a visual reminder of its new status.

You will also find a Set as target collection checkbox when first creating a new collection.
One way I love to use the Target Collection feature is when I need to sort through large numbers of photos to add to different collections, such when as I am working on a book project and I need to choose photos for different chapters. I start by creating a collection set for the book, and then create a regular collection for each chapter. Ill assign the chapter I want to work on as the Target Collection, and then it is easy to go looking through my catalog and quickly adding photos to that target collection just by selecting the photo and pressing the B key. It is a simple little feature, but one that saves me a lot of time, and I hope you’ll find it just as useful in your workflow.